Oct 3, 2026Buying Guides
5 Ways Cheap Bike Bags Fail — and How to Spec Them Out
Seams, zips, webbing, fabric abrasion and missing fittings are the five failure points of a low-cost bike bag. Here is how to design them out before sampling.
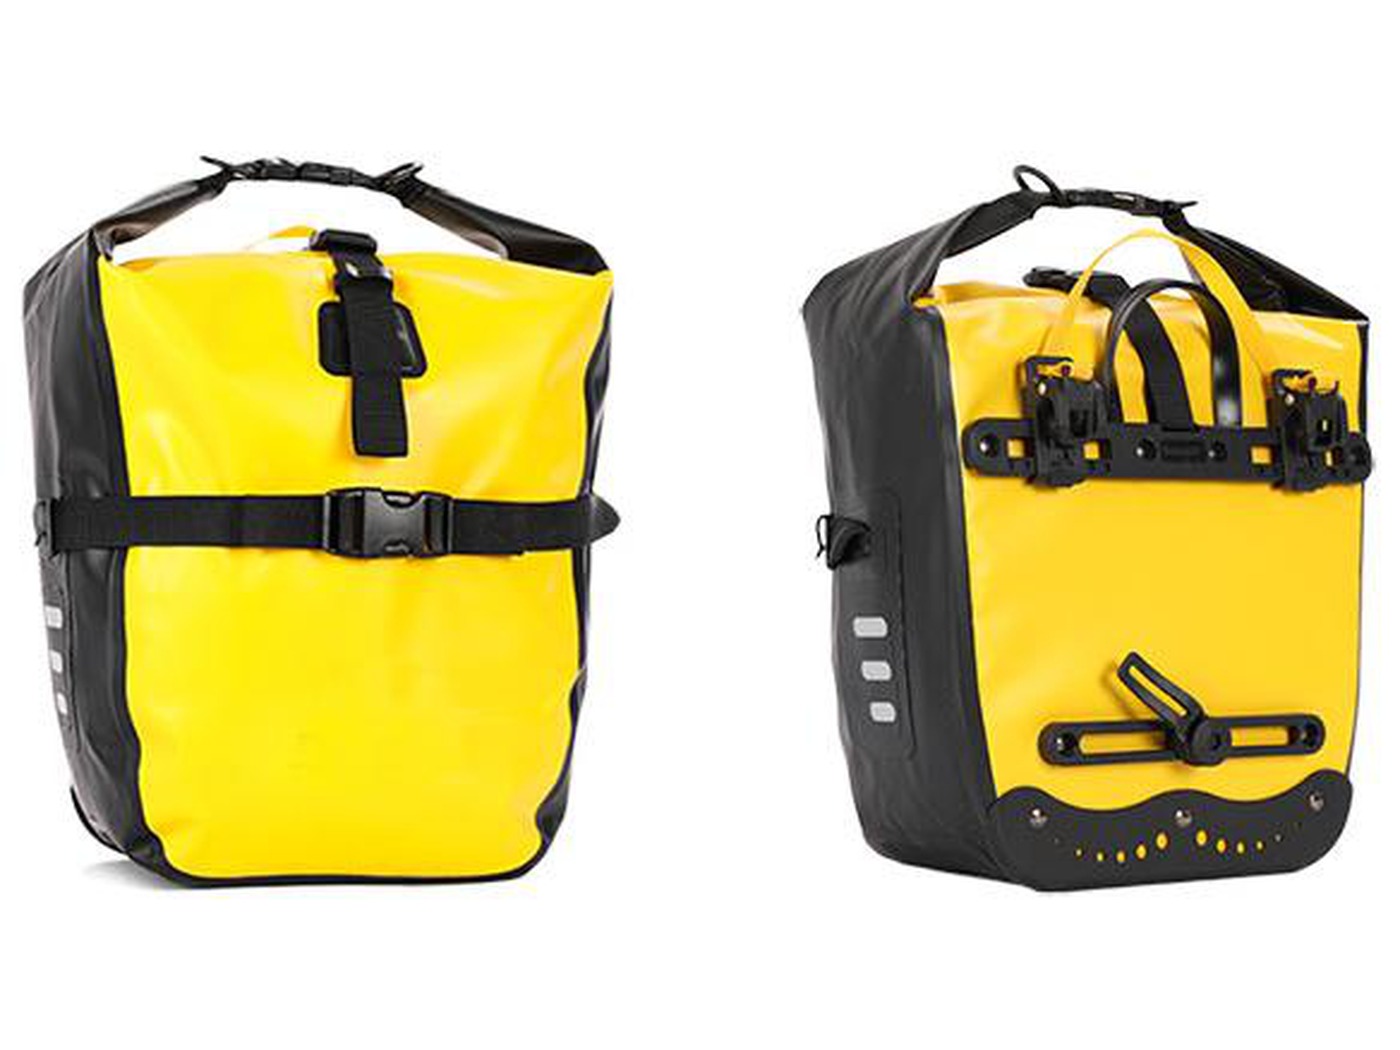
The failure points of a low-cost bag are predictable, and every one of them is decided before the first sample is sewn. The trick is to specify the bag so those five failure points are designed out, rather than discovering them in the returns inbox. Here is where bags actually fail, and what to write into your specification.
1. The seam gives up before the fabric does
Fabric rarely wears out on its own — the seam does. The three causes:
• Thread too thin for the load — a bag carrying tools, a pump or a laptop load should not be sewn with a fine apparel thread.
• Stitch density too low — widely spaced stitches let the seam gape and pull, especially on a base panel that rubs on the rack.
• No reinforcement at stress points — hook attachments, strap ends, base corners and handle mounts take the whole load. Without bar-tacks or reinforcement patches, they are the first thing to fail.
In your brief, specify the thread type, the stitches per inch, and require bar-tack reinforcement at every load point. If a supplier does not mention reinforcement at all, that is the answer.
2. The zipper is the cheapest part on the bag, and it fails first
A bag is only as good as its zip. Common low-cost shortcuts:
• Open-coil zips with visible gaps between teeth — water and grit pass straight through.
• Single slider on a pannier opening — a side-opening zip defeats the purpose of a weather-resistant closure.
• No storm flap — the zip is exposed to direct rain.
• Unreinforced zip ends — the fabric around the slider tears, then the zip is done.
Specify the zip brand and type, whether it is covered, the slider configuration, and the number of sliders for panniers. If the quote simply says "metal zipper", ask which brand — that is usually the tell that the bag is built to a price rather than a spec.
3. Webbing and straps fail at the hardware
Straps, handles and compression bands take a surprising amount of load, and cheap webbing is where it shows first:
• Elastic that loses its pull after a few wet months, so the bag sags.
• Loose bar-tacks or stitching through only the edge fold.
• Plastic buckles and clips on load-bearing points — they crack, especially in cold weather.
• Missing adjusters, so the bag cannot be tensioned once it is loaded.
Specify webbing width, whether the material is polyester or nylon, the hardware material for buckles and hooks, and require hardware samples. Metal hooks and rivets on load points are a small cost that removes a common failure mode.
4. The fabric abrades where the bag touches the bike
A bag that rubs against the rack, the frame and the rider's leg will thin out faster than any lab test suggests:
• Low denier and no ripstop grid wear through at the base and the inner face.
• Coatings that crack — cheap PU or PVC coatings crease and split at the fold lines after a season or two.
• No reinforcement panel where the bag sits on the rail.
Specify the denier, whether the fabric is ripstop, and whether the base has a separate reinforcement layer. For a bag that lives on a rack in all weather, a coated or TPU fabric with a reinforced base is the combination that survives.
5. Poor fit and missing hardware make a good bag unusable
The last failure category is not the sewing — it is the specification being incomplete:
• Missing buckles, D-rings, velcro tabs or compression straps in the delivered sample.
• Hook spacing that does not match the rack, so the bag cannot be mounted without modification.
• A capacity that does not match the stated volume, because the sample was filled with foam for photography.
• Care instructions and labelling missing, which creates friction with your own customers.
The fix is the sample sign-off sheet: every fitting listed, every measurement dimensioned, and the bag photographed on a real rack before you approve it.
"The first order looked fine in photos. Six weeks in, the strap stitching opened, the zip caught at one corner, and the base fabric had worn through where it sat on the rail. None of that was visible in the sample."
The pre-production checklist
Before you approve a sample, verify these eight points:
1. Thread type and stitches per inch on the main seams.
2. Bar-tack or reinforcement at all load points.
3. Zip brand, type, coverage and slider count.
4. Webbing width and hardware material.
5. Denier, ripstop and base reinforcement layer.
6. Every fitting present in the sample, matched against the specification list.
7. Dimensions checked against your measurement drawing, including clearance.
8. The bag mounted on a real rack and photographed, with the fittings torqued by hand.
A supplier who walks through this checklist without hesitation is a supplier who can build your private label program. One who cannot answer points 1, 3 and 4 will produce the same failure in every order.
Next step
Send us the bag type, the target price band, the material you want to use and the fittings you need, and we will tell you which of these five failure points matter most for that specification — and how we design them out on our own production floor. Samples normally take 7 to 14 days, and bulk production follows an approved sample.